We looked and looked and could not find what we thought was a suitable cage for Barney to ride in on his bike. We thought that it was important that the cage have the following attributes.
1. The cage needed to be robust and able to stand up to some vibration.
2. The cage needed to allow Barney room to move around, perch, play with toys, etc.
3. The cage needed to provide good visibility for Barney to see out, and for me to see how Barney was doing.
4. The cage needed to be easy to clean
5. The cage needed to be made with bird safe materials and spacings.
So, we decided that the best thing to do was to make a cage. What we came up with was low cost and met all of our goals.
To make the cage, you will need the following materials. (Also listed in the materials list at the beginning of the construction articles. These materials will allow you to make a cage that is 12 inches wide, 18 inches deep and 16 inches high. This is a good size for an Amazon or other medium parrot, or for that matter a cat or other small animal.
1 6 foot section of 16 inch pantry shelving
1 6 foot section of 12 inch pantry shelving
Approx 6 feet of 12 ga solid copper insulated electrical wire cut in 4 inch sections.
Assembly
Step 1. Assuming that you wish to create an 18x12x16 inch cage, using a hack saw with a fine tooth blade cut a 4 foot section of the 16 inch shelving from what you bought. The shelving has a drop edge to reinforce it when it is used as a shelf. Leave this attached, but make a cut to what would be the lower lip 18 inches in from each end. This should leave a 12 inch section in the middle with an 18 inch section on each side. Carefully bend the shelving into a “U” shape with a flat bottom at the lip cuttings you made. The lip should be facing to the inside of the bend, and will be at the bottom of the cage. You may need to remove a small section of the lip as you bend. See photo below
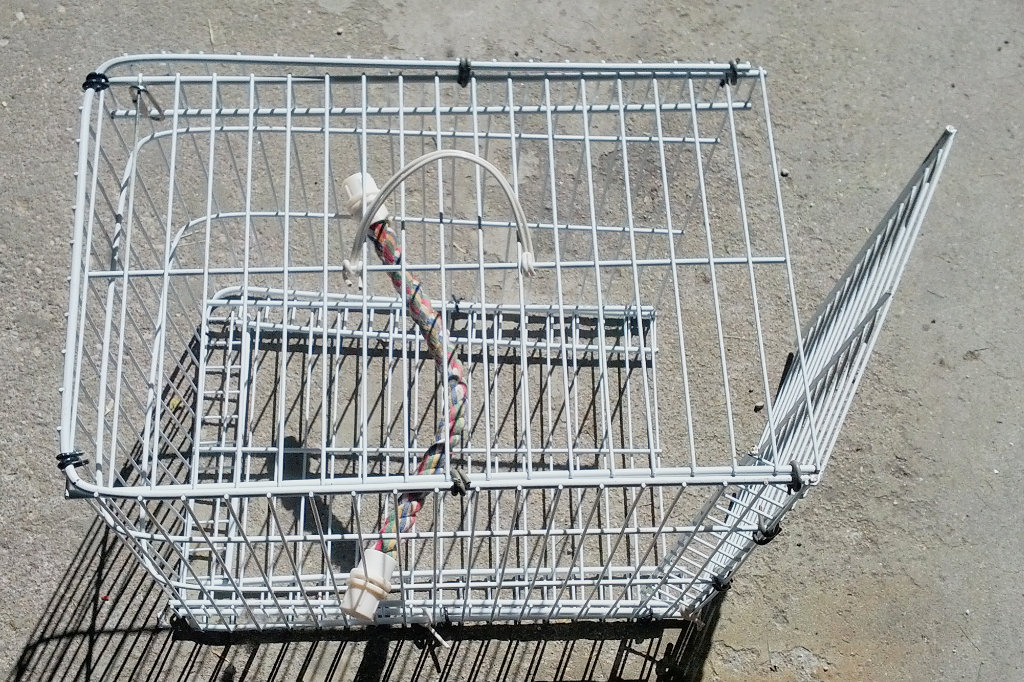
Step 2. Cut 2 18 inch sections of the 12 inch wide shelf material, these will be the cage top and bottom.
Step 3. Cut a 16 inch section of the 12 inch wide shelf material, this will be the cage “door”.
Step 4. Referring to the picture above and below, insert one of the 12 inch wide 18 inch long sections into the bottom of the cage resting on top of the bottom lips, with it’s lip pointing up on the side away from the side you want your front door hinge. Tightly secure the bottom of the cage with sections of the 12 gauge wire from above. I would suggest at least 3 pieces on each side, wind the wire around and around tightly with a pliers.
Step 5, repeat the step above to make the cage top, the lip should face down.
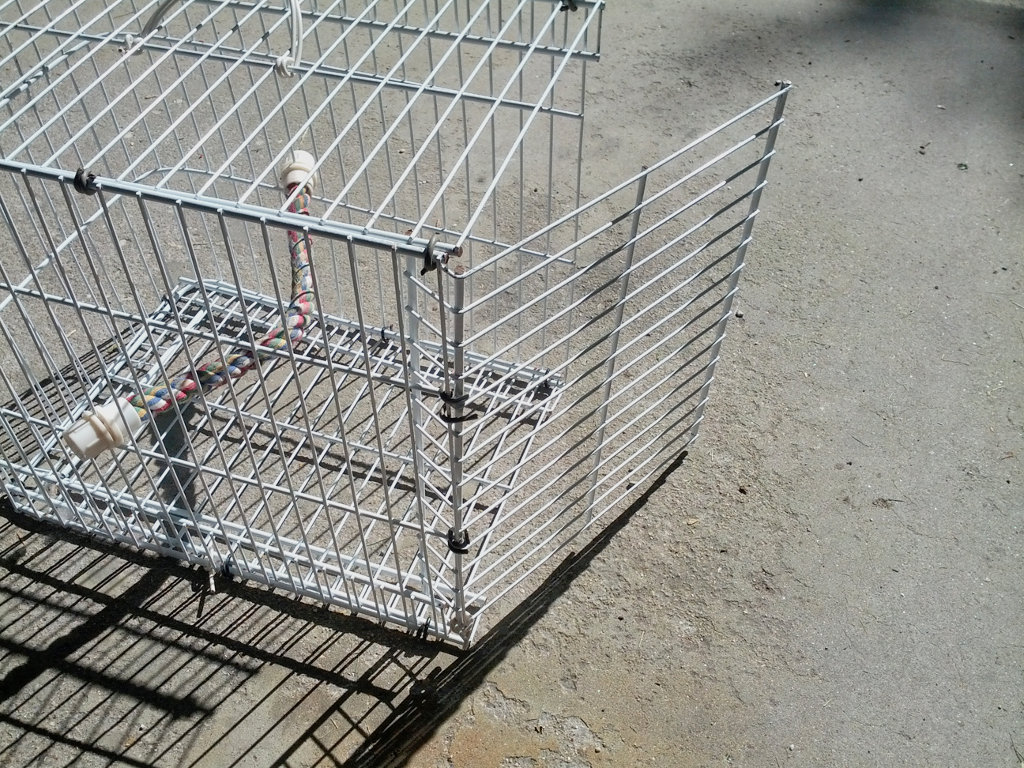
Step 6, The remaining 12 inch wide by 16 inch long section will be the “door”. Put the door peice so that its lip faces inward, and secure it with wire pieces as shown in the picture above. Note that you will be wiring the heavy shelf edge to the cage end, not the lip bottom. These wires should be somewhat loose to allow the door to open and close. The inward facing lip will prevent the door from swinging inward, it will only swing out. You should have a couple pieces of the wire left, I use these to close the door when Barney is in his “Fun Cage” so I can open and close it as needed.
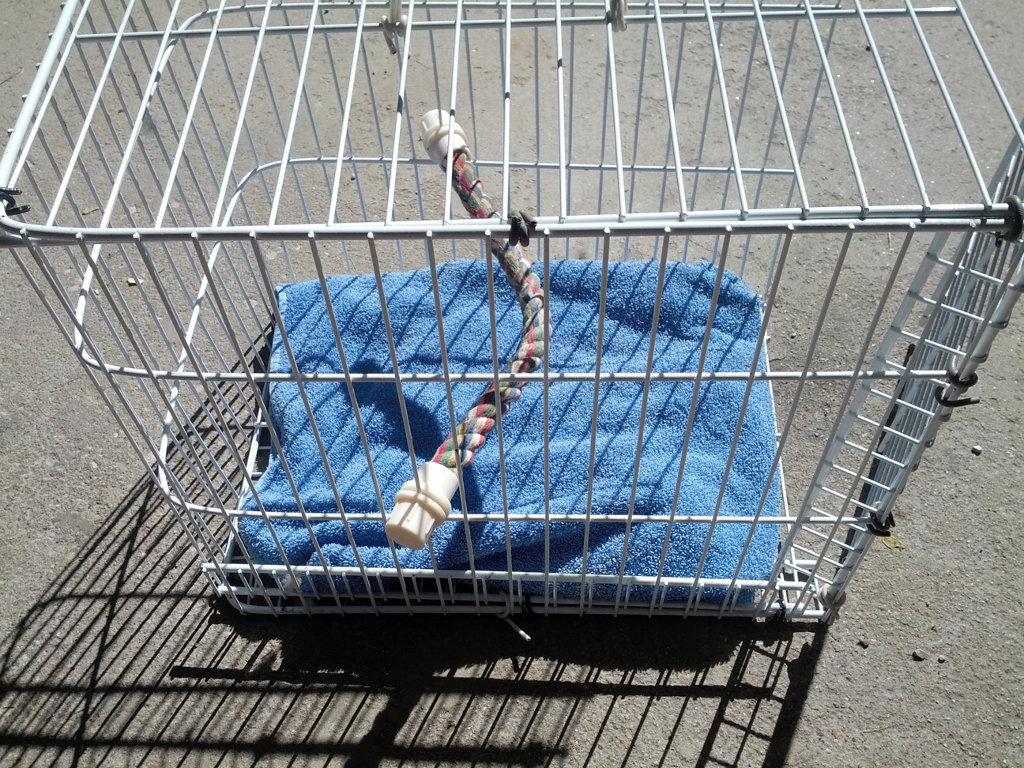
Now you have the cage finished! However, I suggest you now make a “cage Diaper” This is a folded towel that you can remove and wash to keep the cage clean. However, if you just fold a towel and head down the road, 2 things will happen. First, your bird will find it very interesting and will chew on it and pul it into a pile and then poop on the cage and platform. Second, the wind will catch the towel and blow it to the back of the cage, again resulting in a messy cage and platform…
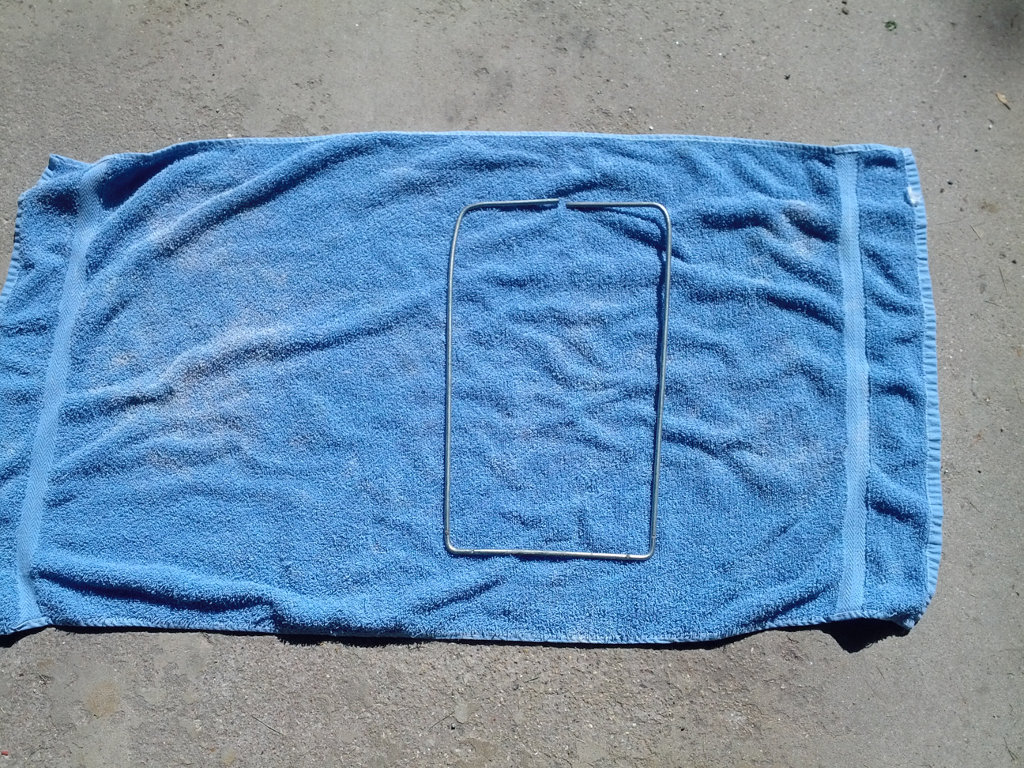
So, I took the heavy wire from a political sign frame and bent it into a rectangle as shown below.
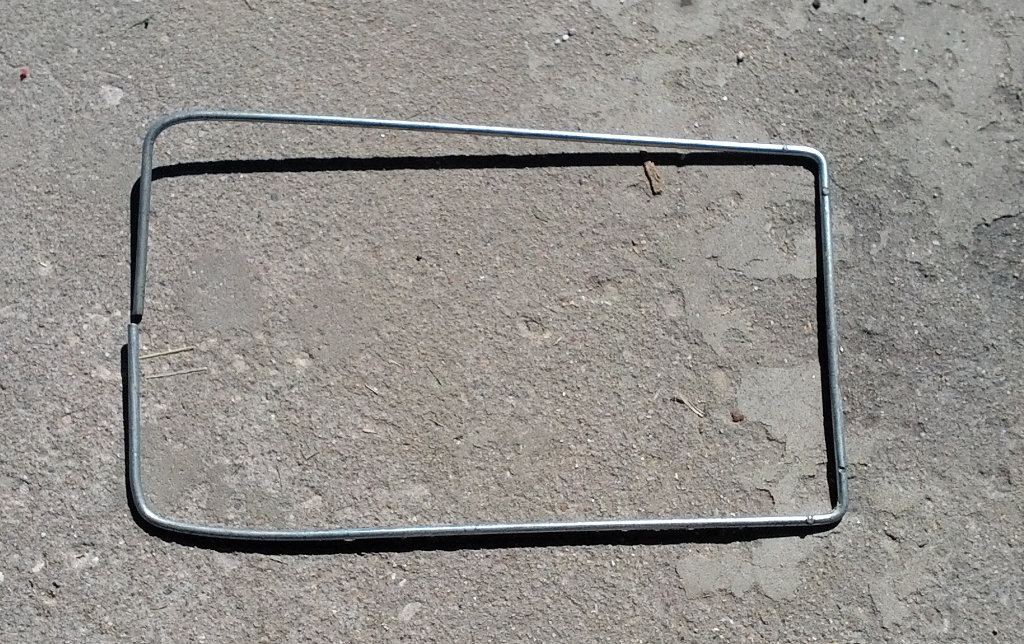
You will probably need to cut the wire with a hack saw to remove the excess.
Then take an old towel and cut it in half the short way and wrap it around the wire frame leaving the end on the bottom or your bird will pull on it.
Insert the finished “Cage Diaper” into the cage as shown below and you are finished with the cage.